Connect MailWizz to Sendmux, set humanised sending limits, and run cold email outreach campaigns with scheduled follow-ups and signed feedback.
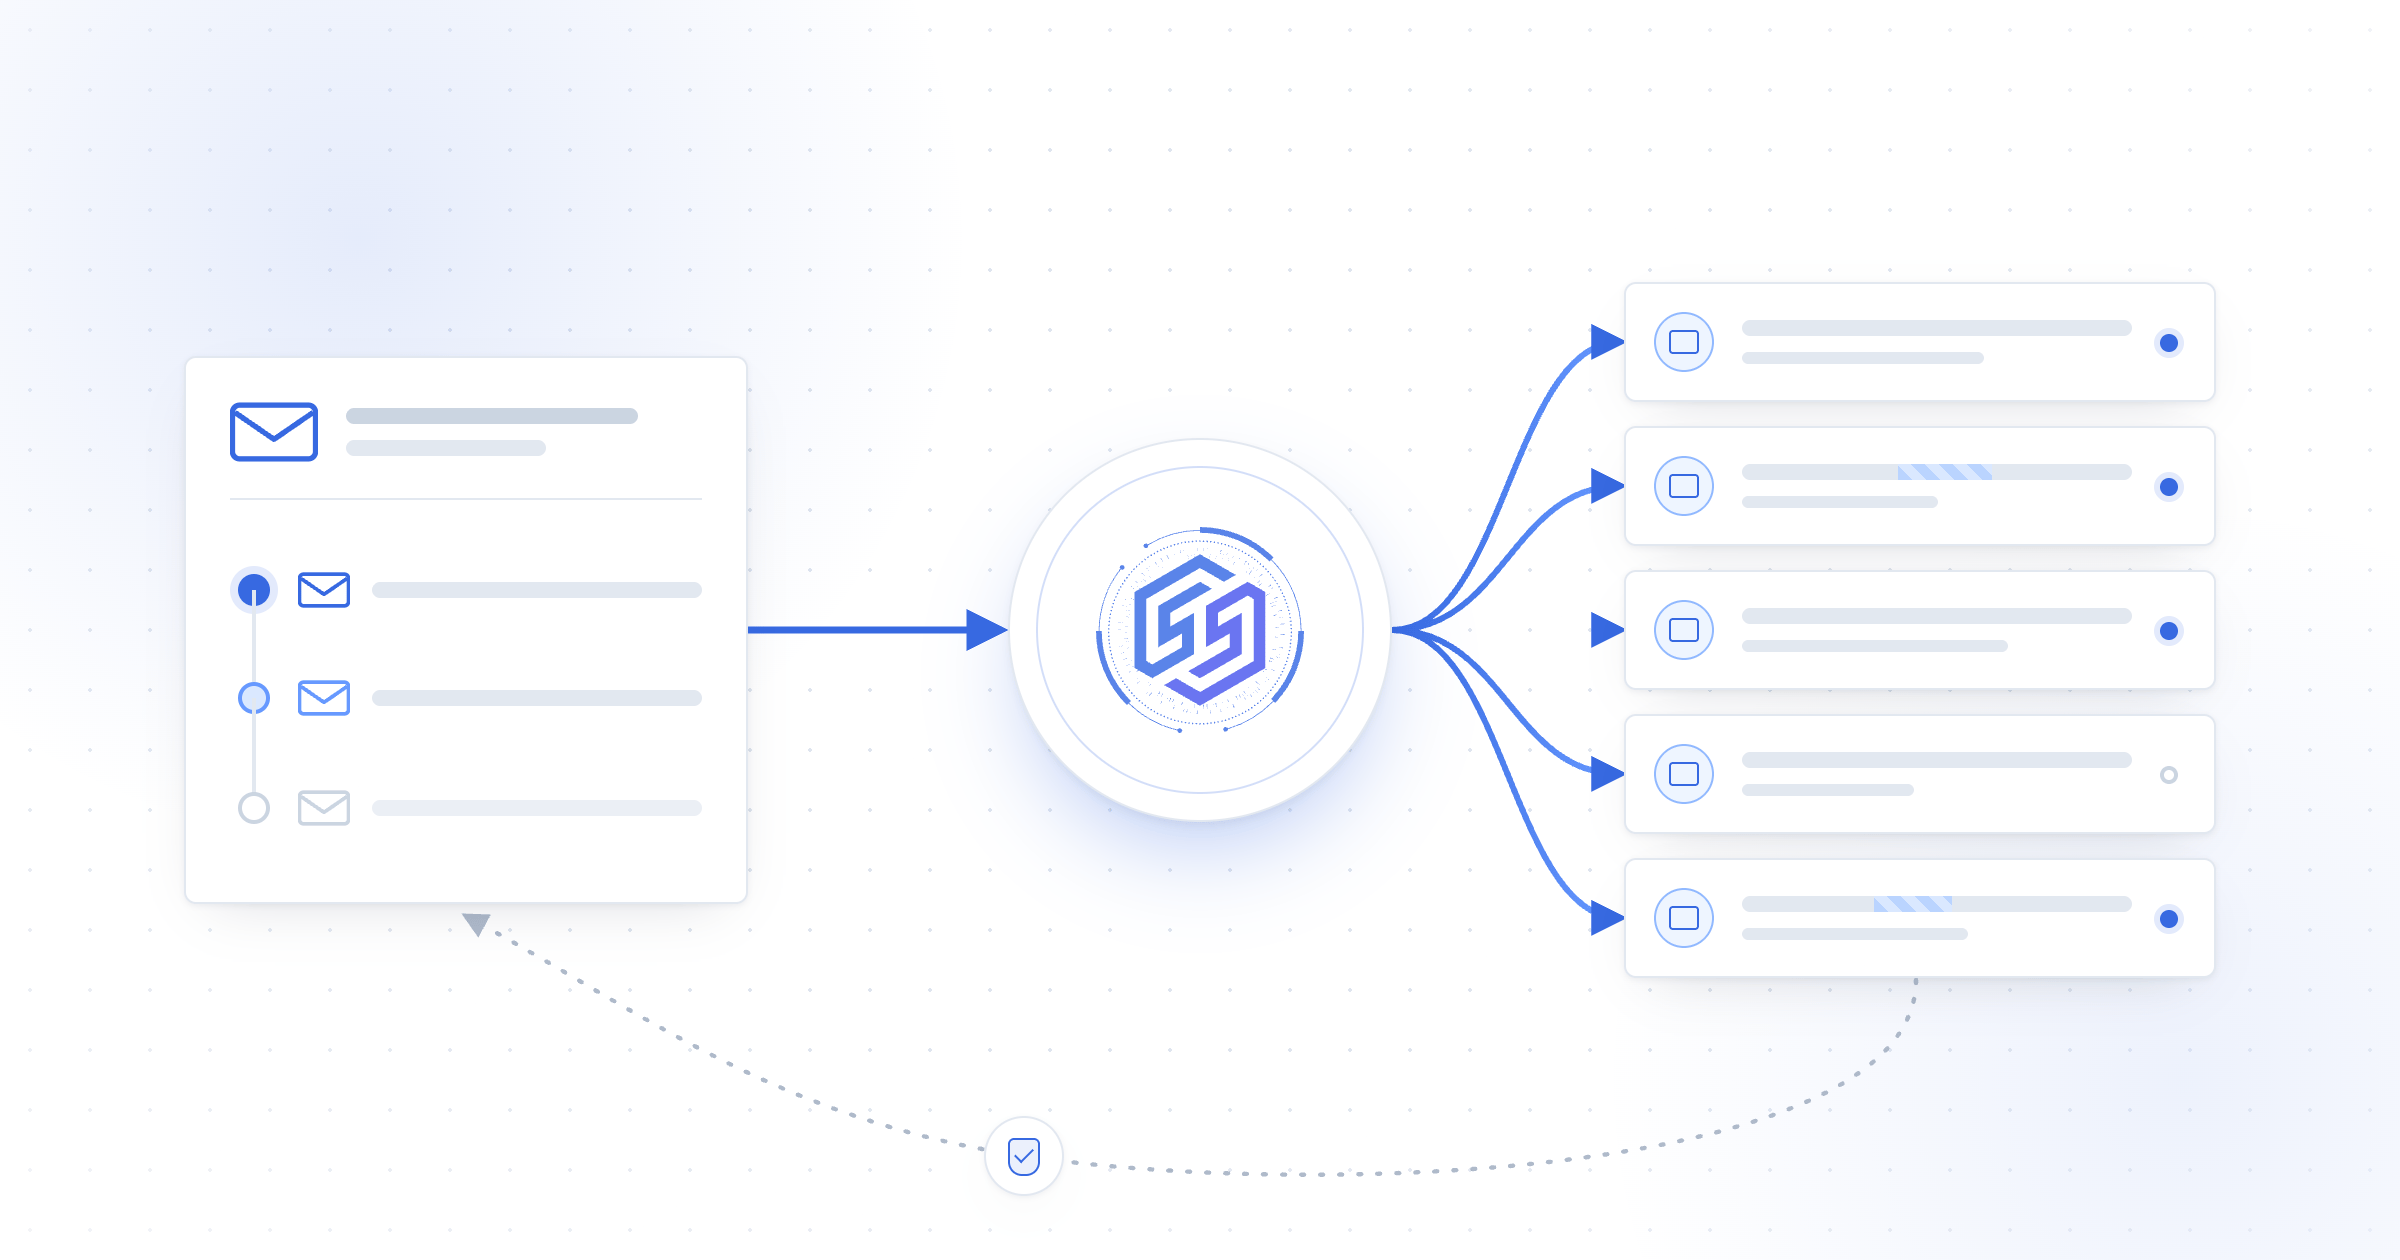
Connect MailWizz to Sendmux when you want MailWizz to manage prospects, campaign content, schedules and follow-ups while Sendmux manages eligible sending accounts, routing and sending limits. You configure one Sendmux delivery server in MailWizz, then use it across your outreach sequence.
Before you start, use MailWizz 2.0.34 or later. You also need a Sendmux
team with an active sending account and a publicly reachable MailWizz
frontend URL using HTTPS.
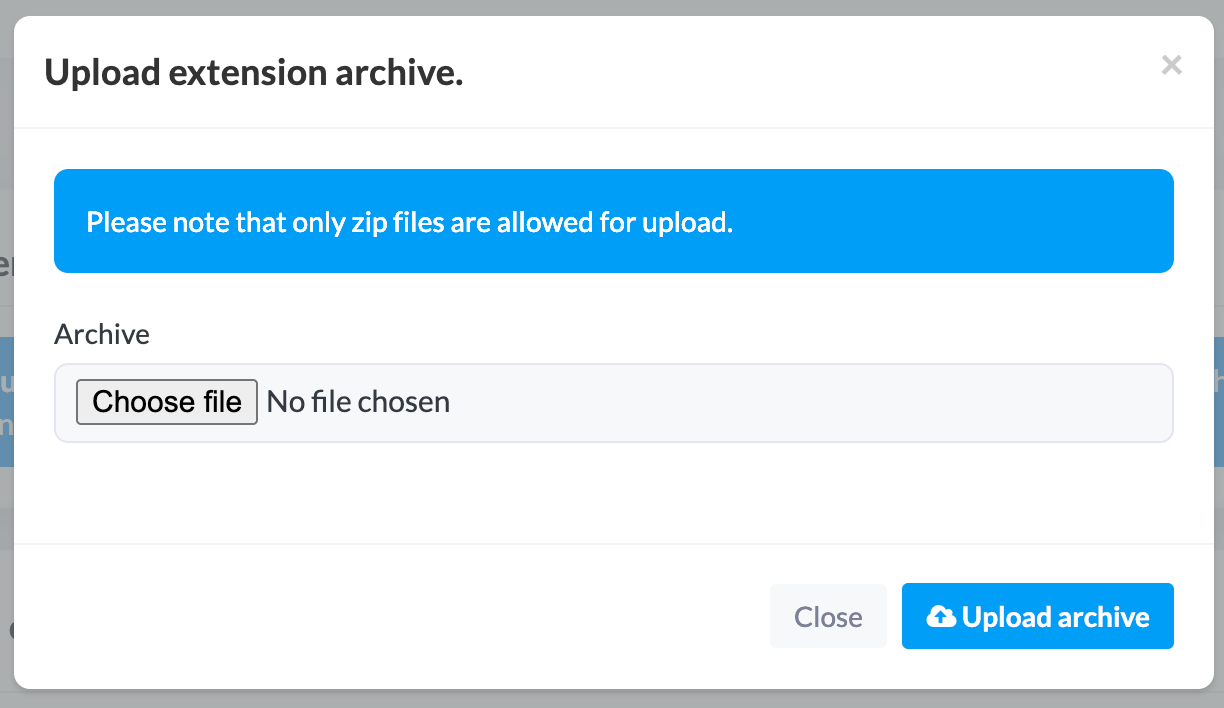
Download the latest Sendmux extension. In the MailWizz backend, open Extend → Extensions → Upload extension, upload the archive and enable Sendmux Sending API.
Upload the Sendmux extension ZIP in MailWizz.
In Sendmux, open API Keys, create a send-capable mailbox key and copy
the reveal-once value beginning with smx_mbx_.In MailWizz, open Delivery servers → Create new, select Sendmux
Web API, paste the key into Sending Key and complete the sender
fields. Save the server. It remains inactive until you connect signed
feedback.Reopen the server and select Info to copy its webhook URL. In Sendmux,
open Webhooks → Create webhook, use that URL and subscribe to
message.bounced and message.complained. Copy the reveal-once whsec_
secret back into Webhook signing secret in MailWizz. Save, test and
activate the delivery server.
2
Add sending accounts and set limits
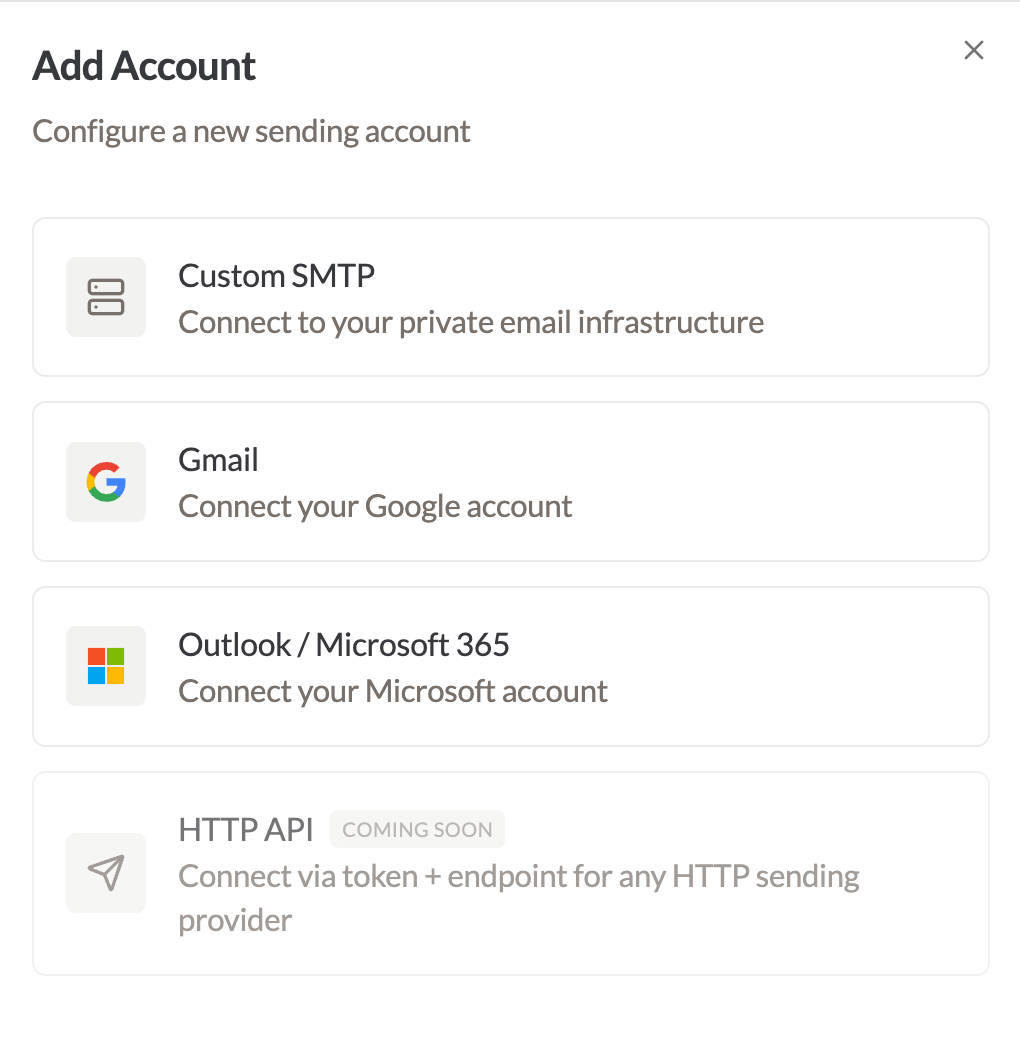
In Sendmux, open Accounts → Add Account. Add each account you want
in your outreach pool, complete its connection details and run the
available test.
Choose the connection type for each Sendmux sending account.
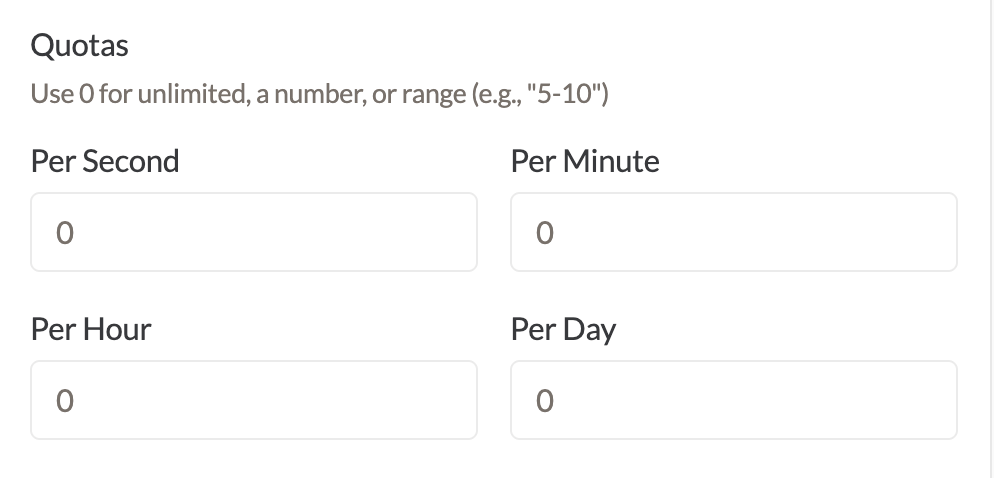
Set accurate From and Reply-To details for each account. Then configure
fixed limits or minimum-to-maximum ranges for supported per-second,
per-minute, per-hour and per-day windows.
Set fixed or ranged quotas for each sending window.
Choose limits that fit the account’s history and provider policy. A range
such as 5–10 lets Sendmux periodically select an active cap inside those
boundaries. Messages above the current cap wait until capacity is
available.
3
Start the campaign and follow-ups
Create a regular MailWizz campaign for your prospect list. Choose the
audience, write the message and complete the normal scheduling steps.
Use MailWizz's campaign actions to schedule or save your work.
Build each follow-up as a separate MailWizz autoresponder campaign,
triggered after the original campaign is sent or opened. Set the delay and
time unit deliberately, then read the full sequence as the recipient
before activation.Use a separate campaign for every intended follow-up. Both the original
campaign and its follow-ups use the same Sendmux delivery server, so
account eligibility and sending limits continue to apply.
Send only to people you may lawfully contact. Keep your targeting relevant,
identify the sender accurately, honour suppression records and provide a
clear way to stop further contact.
MailWizz owns the campaign workflow. Sendmux decides which eligible account can send and enforces that account’s current limits. This keeps lists and automations in MailWizz without recreating every sending account as a separate delivery server.
Use a fixed cap when you want one predictable ceiling. Use a range when the active ceiling may move within approved boundaries. Sendmux selects a value when account information refreshes and keeps that cap until the next refresh.A range varies the sending ceiling. It does not add a random delay to each message or guarantee inbox placement. Good targeting, authenticated sender domains, relevant content and a healthy account history still matter.
The extension includes MailWizz campaign and subscriber identifiers with campaign sends. When Sendmux reports a bounce or complaint, MailWizz verifies the signed event and matches it to the campaign, subscriber and delivery server that recorded the send before changing subscriber state.
Sendmux event
MailWizz result
Permanent bounce
Records a hard bounce and normally blacklists the subscriber.
Transient bounce
Records a soft bounce.
Undetermined bounce
Records an internal bounce.
Complaint
Applies MailWizz feedback handling and blacklists the subscriber.
Invalid, unsigned or unmatched webhook calls cannot alter campaign records. If a later bounce has a stronger classification, the extension preserves that stronger result.
queued means Sendmux accepted the message for processing. It does not mean the recipient system accepted it or that it reached the inbox. Final delivery still depends on the selected account, the recipient system, message quality and sender reputation.
Not for campaign feedback handled by this integration. The signed webhook
writes correlated bounces and complaints into MailWizz. Keep it active and
monitor failed webhook deliveries in Sendmux.
Can Sendmux use multiple sending accounts?
Yes. Add each account to Sendmux and configure its sender details, limits
and routing. Sendmux chooses among eligible active accounts for the key
used by the MailWizz delivery server.
Why is the delivery server inactive?
A new server remains inactive until its webhook signing secret is saved.
MailWizz also deactivates it after a credential change so you can test the
new configuration before campaigns use it.
Can I reuse one autoresponder for repeated sends?
Use a separate MailWizz campaign for each intended follow-up. Deliberately
re-entering the same subscriber into the same autoresponder during the
Sendmux idempotency window is not supported.